There are two ways to install it on Windows. Please choose a preferred manner.
Some Python tools have trouble with paths that have whitespaces. Before installing HomCloud, please check your username and other paths for spaces.
Download the 64-bit python installer (here, Windows x86-64 web-based installer is taken as an example) from https://www.python.org/downloads/windows/ and click to install. HomCloud supports Python 3.11, and 3.12 (Mar. 20, 2024). This installation guide uses Python 3.11.
venvOn this page, we install HomCloud using venv, which can create lightweight virtual environments.
You can easily use different versions of HomCloud using venv.
Start the command prompt.
You can find it by searching for Windows administration tools→command prompt.
First, you should make a working directory. In this example, let’s name the directory homcloud:
mkdir homcloud
cd homcloud
You can create a new virtual environment in the working directory:
py -3.11 -m venv venv311
Then, a directory whose name is venv311 is created. The files in the virtual environment are stored in this directory.
Note that if the folder name contains non-alphanumeric characters, it will not work. Note that the parent folder must not also be included.
Type as follows to enter the virtual environment:
venv311\Scripts\activate
This operation is required every time the command prompt is launched.
Install the required package as follows in the virtual environment.
pip install "numpy<2" pyqt5 pyqt6 wheel "pyvista[all,trame]" pyvistaqt
pip install homcloud
Finally, run the following in a command prompt to find out if it was successfully installed.
python -m homcloud.self_check --pyvista
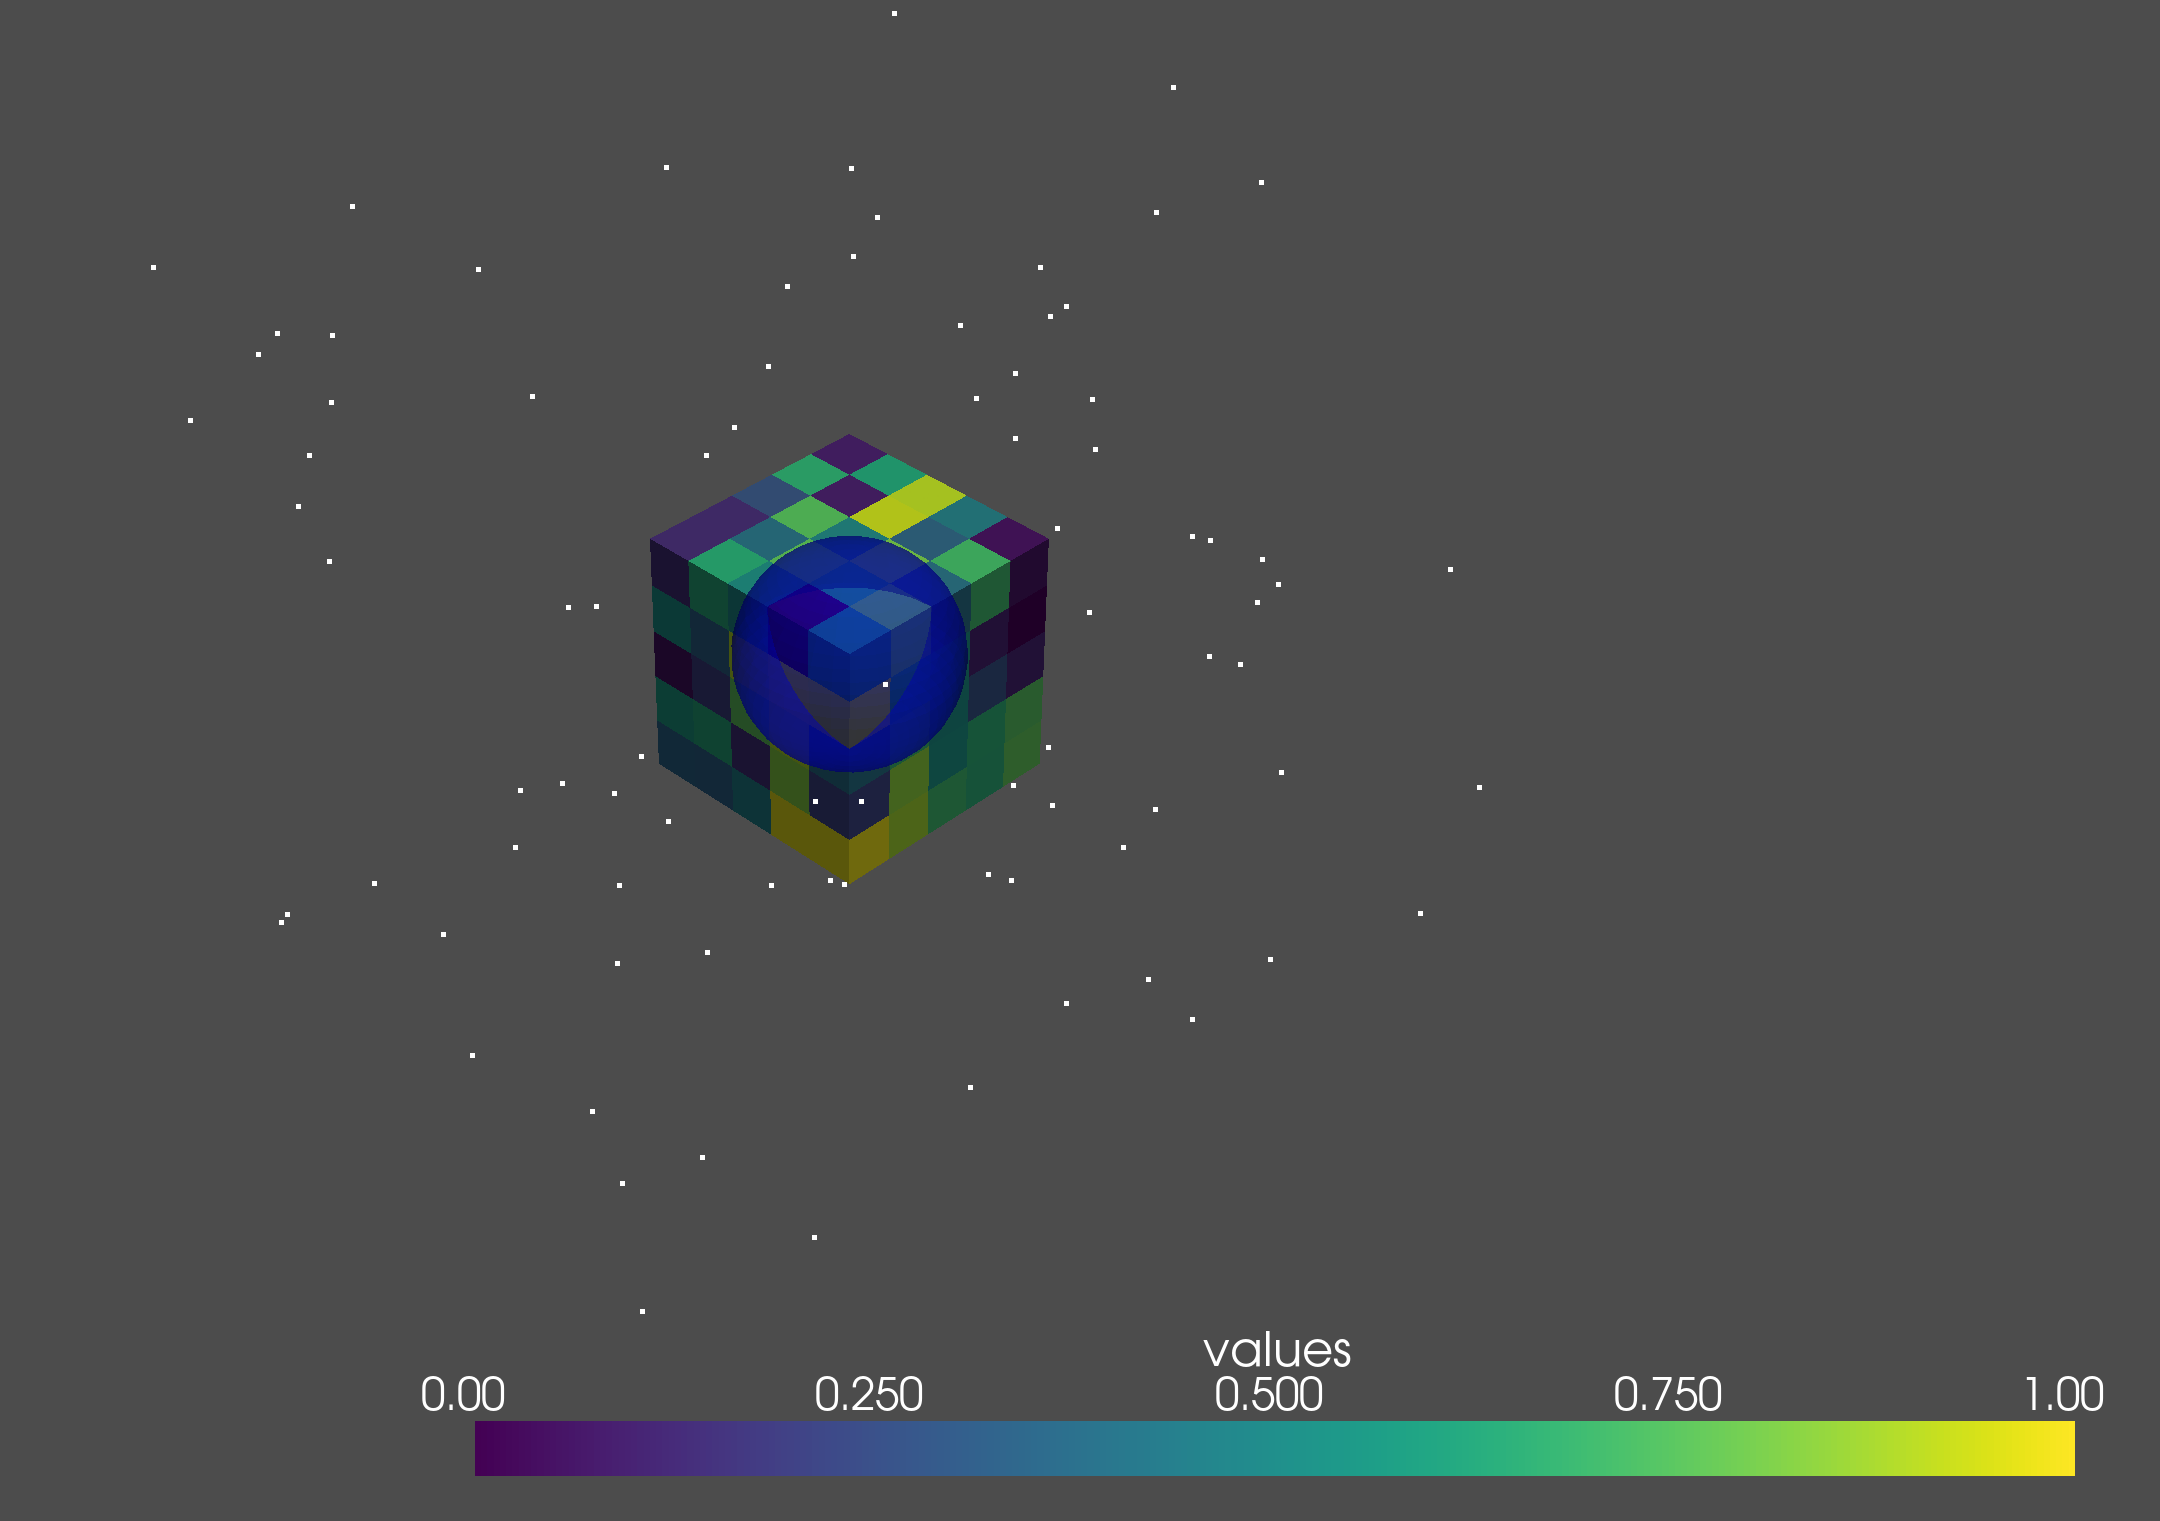
After starting, a window with the following image will be opened. Please close the window.

The installation succeeds if the following message is shown in the terminal.
HomCloud version: 4.4.0
Python version: 3.10.12 (main, Nov 20 2023, 15:14:05) [GCC 11.4.0]
CGAL version: 5.6 (1050601000)
Alpha Shape 3 ... ok
Alpha Shape 3 with weights ... ok
Periodic Alpha Shape 3 with weights ... ok
Alpha Shape 2 ... ok
Grayscale 2D bitmap ... ok
Binary 2D bitmap ... ok
Binary 2D periodic bitmap ... ok
Rips filtration ... ok
Plotting PD ... ok
Optimal Volume ... ok
PyVista 3D drawing (close the pop-up window)... ok
The installation is now complete!
Now we try HomCloud tutorials. First, install jupyter as follows:
pip install jupyter
Next, download the tutorial from python-tutorial.zip and extract it to the homcloud folder.
After that, type the following in homcloud folder:
jupyter notebook
Then, the browser will pop up, and the jupyter notebook will start. Start the tutorial here from the tutorials folder. There are some tutorials, but pointcloud is the easiest to do.