On this page, we install HomCloud using venv, which can create lightweight virtual environments for Python.
You can easily use different versions of HomCloud using venv.
Type as follows:
sudo apt-get update
sudo apt-get install python3-all-dev python3-venv
First, you should make a working directory. In this example, let’s name the directory homcloud:
mkdir homcloud
cd homcloud
You can create a new virtual environment in the working directory:
python3 -m venv venv
Then, a directory whose name is venv is created. The files in the virtual environment are stored in this directory.
Type as follows to enter the virtual environment:
source ./venv/bin/activate
This operation is required every time you invoke a new shell.
Type as follows to install HomCloud:
pip install wheel
pip install "homcloud[recommended]"
Finally, to check whether the installation process was successful, run the self-check program as follows in the terminal:
python -m homcloud.self_check --pyvista
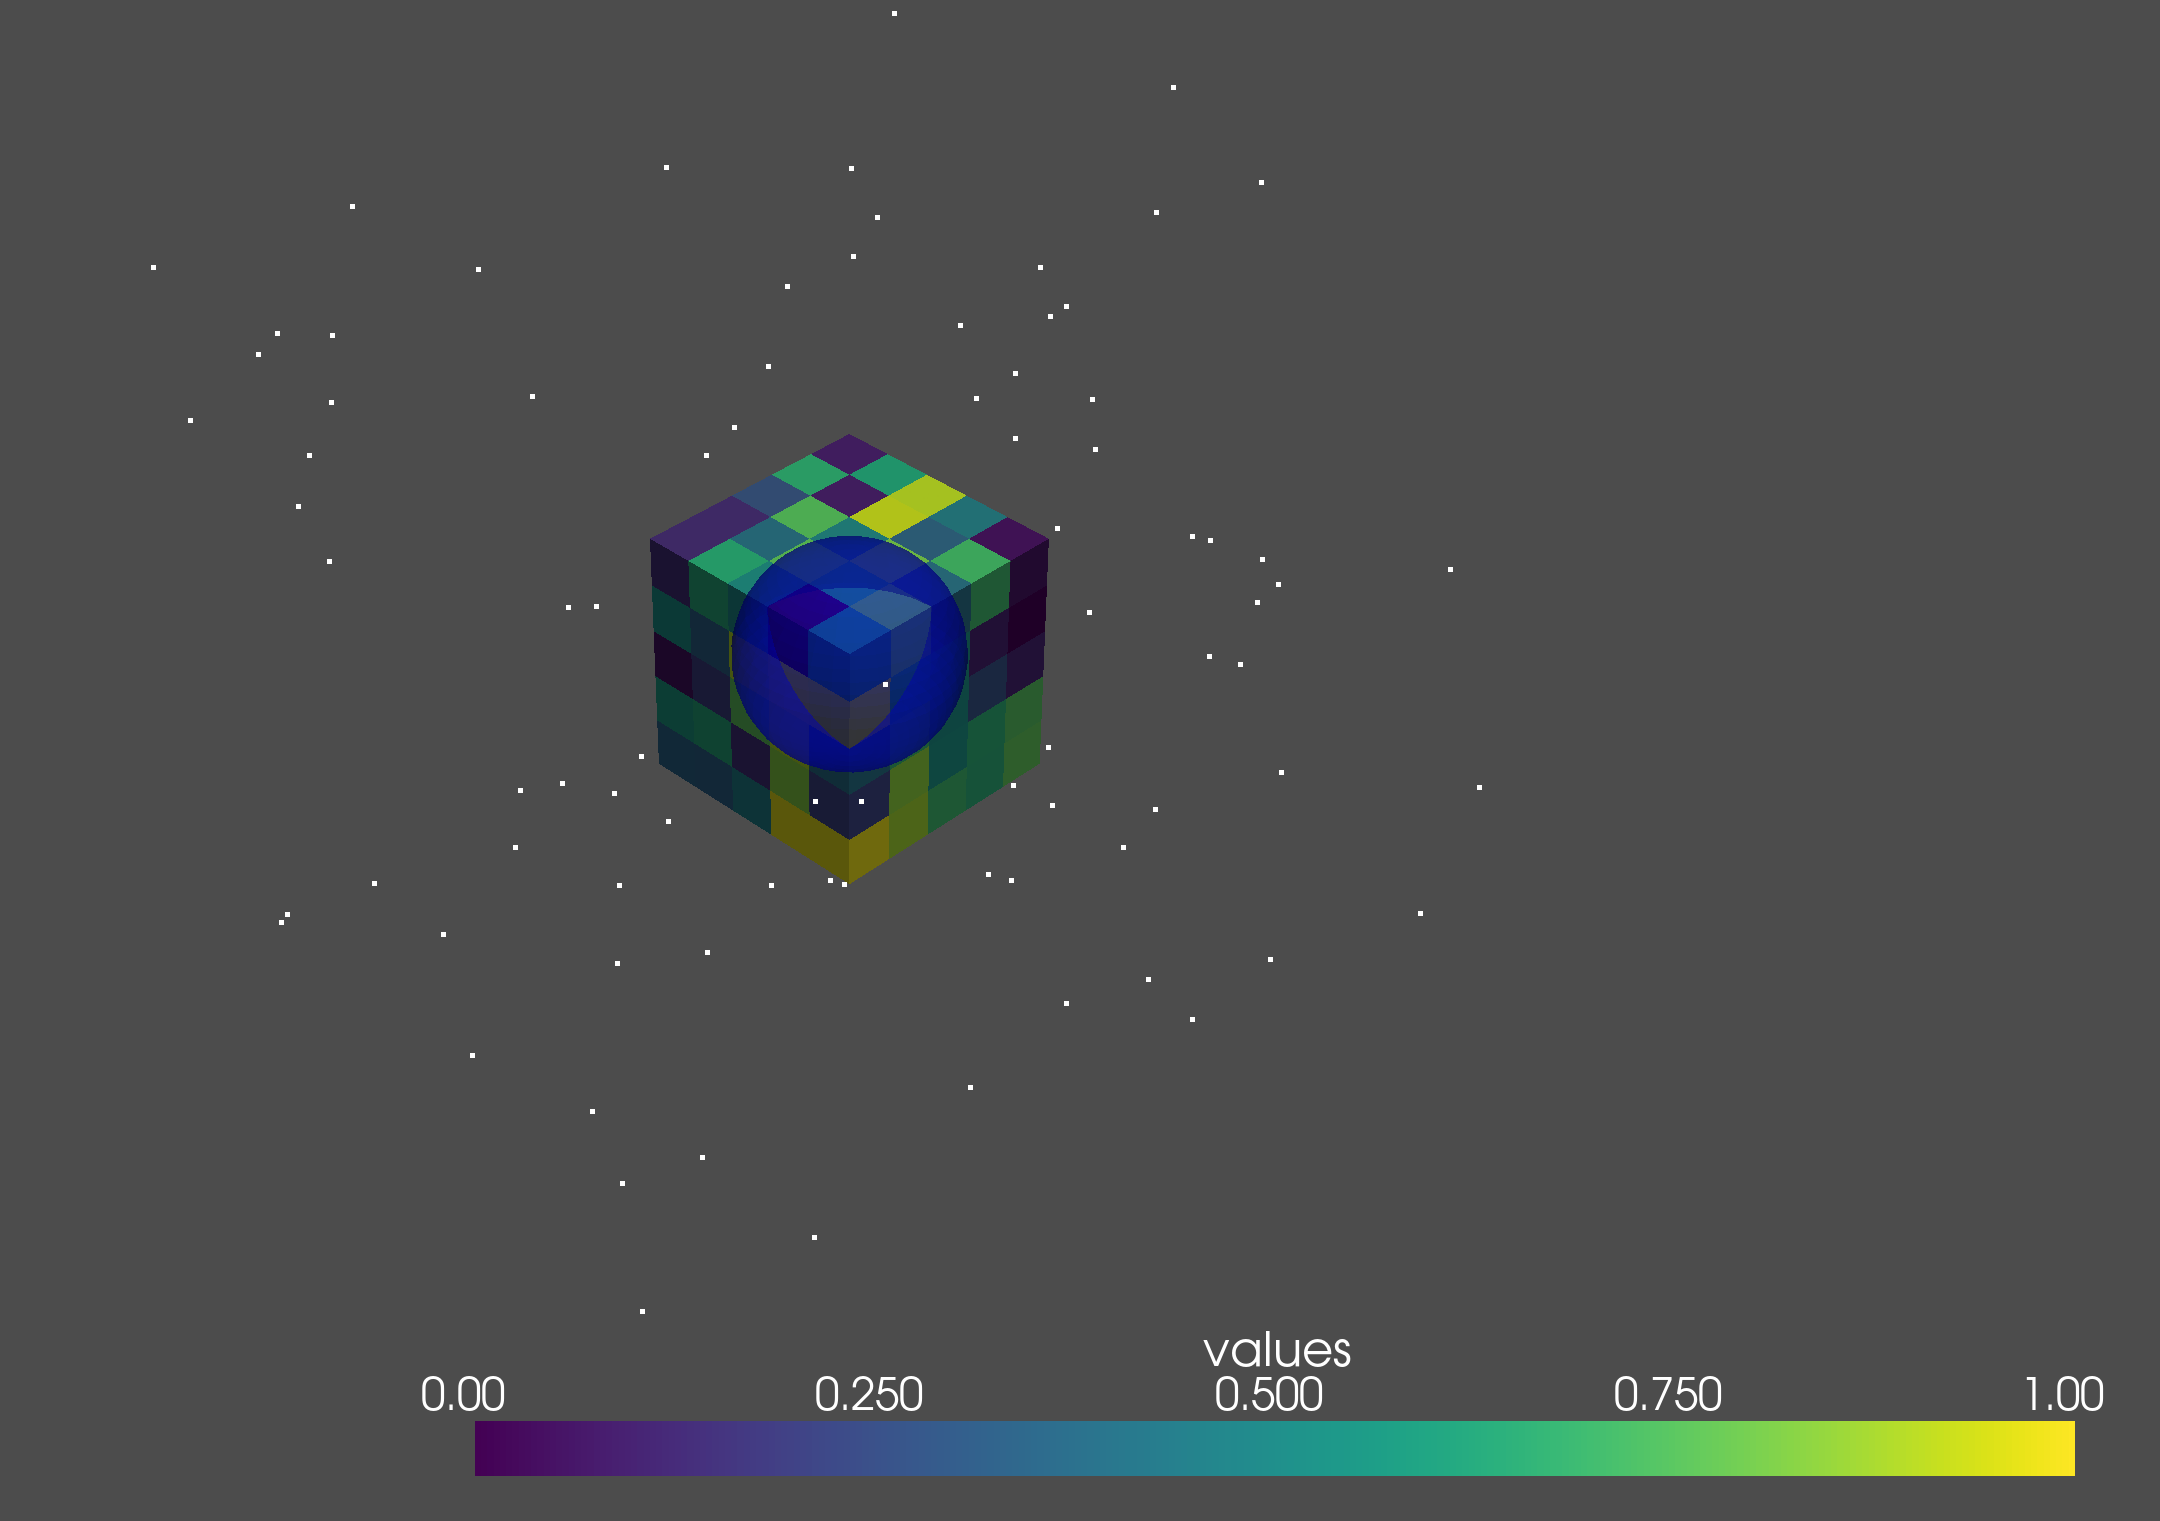
After starting, a window with the following image will be opened. Please close the window.

The installation succeeds if the following message is shown in the terminal.
HomCloud version: 4.0.0
Python version: 3.10.6 (main, Mar 10 2023, 10:55:28) [GCC 11.3.0]
Alpha Shape 3 ... ok
Alpha Shape 3 with weights ... ok
Periodic Alpha Shape 3 with weights ... ok
Alpha Shape 2 ... ok
Grayscale 2D bitmap ... ok
Binary 2D bitmap ... ok
Binary 2D periodic bitmap ... ok
Rips filtration ... ok
Plotting PD ... ok
Optimal Volume ... ok
PyVista 3D drawing (close the pop-up window)... ok
The installation is now complete! Enjoy with HomCloud!
You optionally install dipha for more than 4-dim voxel data.
sudo apt-get install openmpi-bin libopenmpi-dev cmakedipha-2.1.0.zip from https://github.com/DIPHA/dipha/archive/dipha-2.1.0.zip.cmake ., and create Makefilemake to build diphaPATH environmental variable.python3 -m homcloud.self_check --dipha