This section shows installation using Homebrew.
Homebrew allows you to install various software on your Mac using a command line interface.
From Python installed with Homebrew, HomCloud is installed using venv, which creates a virtual environment for Python.
Venv makes it easy to upgrade the software components used by HomCloud and the version of HomCloud itself.
See Homebrew’s website for installation.
Type the following on your terminal to install Python and CGAL:
brew install python cgal
The latest version of Python (3.13, Oct. 2024) may cause the failure of self check. In that case, you should use 3.12.
Create a working directory. Let’s name the directory homcloud:
mkdir homcloud
In the working directory, create a new virtual environment.
cd homcloud
python3 -m venv venv
Go to the working directory, and enter the virtual environment by typing the following:
source ./venv/bin/activate
This operation is required every time you invoke a new terminal.
Type as follows to install the required packages by HomCloud:
pip install "numpy<2" wheel jupyter Cython "pyvista[trame,all]" pyqt6 pyvistaqt
Type as follows to install HomCloud:
CPLUS_INCLUDE_PATH=/opt/homebrew/include LIBRARY_PATH=/opt/homebrew/lib pip install homcloud
Finally, the self-check program is executed to confirm that the installation is successful. Type the following:
python -m homcloud.self_check --pyvista
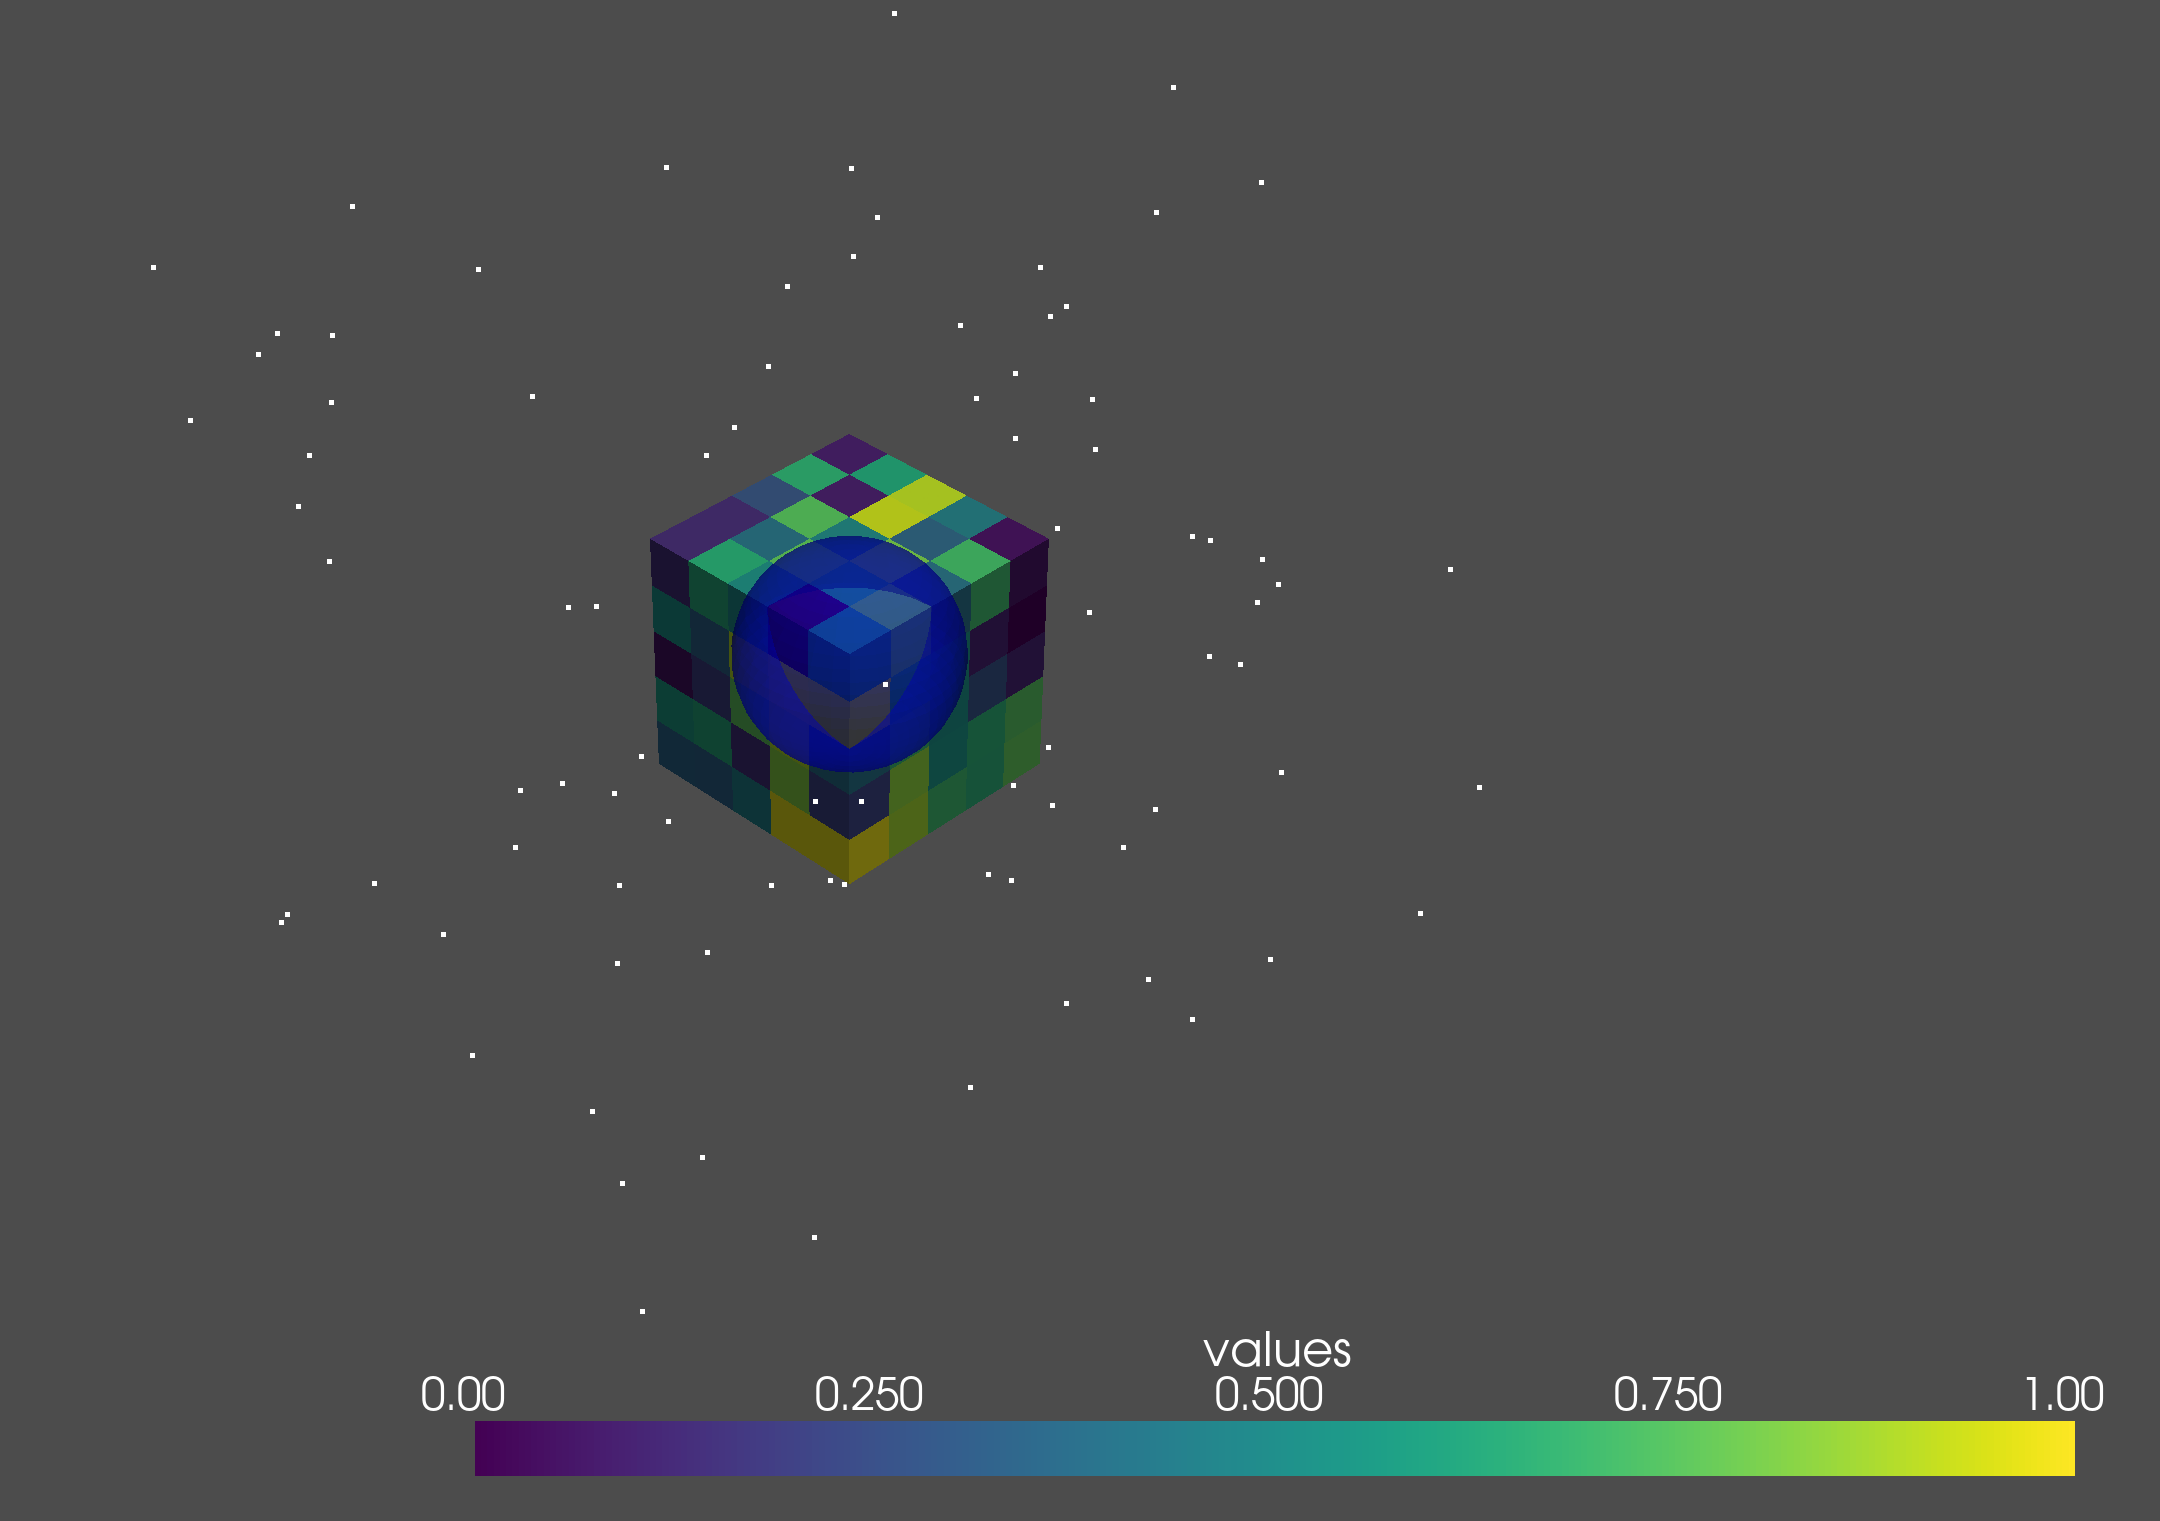
After starting, a window with the following image will be opened. Please close the window.

The installation succeeds if the following message is shown in the terminal.
HomCloud version: 4.0.0a4
Python version: 3.11.2 (main, Mar 24 2023, 00:16:47) [Clang 14.0.0 (clang-1400.0.29.202)]
Alpha Shape 3 ... ok
Alpha Shape 3 with weights ... ok
Periodic Alpha Shape 3 with weights ... ok
Alpha Shape 2 ... ok
Grayscale 2D bitmap ... ok
Binary 2D bitmap ... ok
Binary 2D periodic bitmap ... ok
Rips filtration ... ok
Plotting PD ... ok
Optimal Volume ... ok
PyVista 3D drawing (close the pop-up window)... ok
The installation is now complete! Enjoy with HomCloud!
Let’s try HomCloud’s tutorial in your environment.
Download python-tutorial.zip and extract it in the homcloud directory.
After entering the virtual environment, type the following to start Jupyter:
jupyter notebook
You can start tutorials here.
The pointcloud tutorial is best to start HomCloud.